Building again

After a long winter stop, it was too cold in the shop, I am building again. I ripped the dark boards into small strips and also split a few poplar strips into 10 mm wide small strips that will follow some curves better.

The deck is almost planked now. Still no photo’s but they will come soon. I had a lot of trouble with beveling. The bevel at the ends had to be very big, so I decided to work around that. I started planking in the center of the deck with parallel strips which protrude over the ends and stopped with that when the bevel was smaller. The consequence is that you will see the small sides of the strips and not the topside in that area.

This winter it was far to cold to work comfortable in the unheated garage. In January I tried an old stove but I had to heat more than two hours to get the temperature above 12 C (62.6 F) and that was much to long for an evening work. So I started building in March but took no time to work on this blog.

Turning the kayak to start making the deck

To turn the kayak I had to change the support in the external strong back. I hung the kayak in slings to the ceiling and altered the support then lowered the kayak into it.

The next problem to solve is the big change in deck angle for the first strips at the shear. At the ends the strip is almost laying flat so the side of the strip will touch the edge of the last hull strip. Two frames from the end the edge of the strip has to make contact with the hull. How do I bevel that?

I want a dark small strip between deck and hull. So I have to rip those first.

Making the external stems

I started at the stern. After fairing the stern with the spokeshave I glued a thin strip on the stern which I formed with the heat gun. I made the stem out of five layers. Four layers of 3 mm teak with one layer of poplar in between all formed with the heat gun. I did not trust myself in gluing all the layers in one step. I did it in three steps. The glue was a polyurethane glue, the fast setting type so I could do it in one evening. After hardening  I formed it with the spokeshave and the ROS.


As usual I made mistakes. The first layer of my stem was poplar. At the start of the stem in the keel, there is nothing left of the hard teak. So next time I will start with the hardwood layers. The second mistake was not reading the book KayakCraft by Ted More. He describes perfectly how to handle. I did not make a slot to connect the inner and the outer stem, but it looks alright. The mistake that will give the most work is that I sawed it to short at the end.

At the bow I did better but as you can see it bends down at the end. To much material removed.  I will sort that out later.


Fairing the hull

During planking the hull I made a lot of mistakes. The decision not to bevel was wrong. The gaps are to big.  I filled them with epoxy filler. Also the difference in thickness of the strips gave trouble and next time I have to pay a lot more attention to the lining of the adjacent strips.
I used a ROS with 60 grid sandpaper just as Rob Macks told in “I’ll whack the Hornet’s nest”. It worked very well. Shaving did not work with the very coarse grain of the poplar. To much tear out. Three evenings of 1.5 hours fairing made a nice hull. But I understand why people like shaving more then working with the ROS. It is a noisy and dusty  business. Photo’s are shown beneath.


Blanc poplar hull after fairing with the Ross. Spot in last picture needs more work.

Next job is making the external stems.

Planking the hull

I found it difficult to find the exact shear line on the forms. So I tried to find the line with a strip. I did not have straight strips. The poplar boards where straight but the wood had a lot of tension because of different growing speed. After ripping the strips wobbled. Afterwards I think that the best remedy had been to scarf the straight parts together into one long strip. But I used the strips as they where. I made the shear line symmetrical on both sides.

For the stem and the bow I needed the heat gun to get the strips in place. I found it difficult to spread the heat evenly over the strip. Maybe all things will come right later. I did follow the shear line with 2 strips. The rest of the strips followed the chine more at the ends so I need cheater strips but that is not a problem.

I found it difficult to make the right bevel. So I decided to staple the strips with no bevel at all and later fill the gaps with thickned epoxy.  I tried to use no glue at all but had so much difficulties with lining the strips between the forms that I decided to use a gap filling glue. It is the PU-glue which is used in wood construction. This one gives transparant glue lines. The problem is that epoxy does not hold very well on PU. So I have to use a primer to tackle that problem after wetting out the wood.

At the chine I did split my strips (22 mm wide) into 10.5 mm wide strips. I used a Japanese razor saw (not a genuine Japanese saw but a European copy sold by Aldi for 12 euro’s, handle with two blades) and a kind of miter box for splitting. The saw line is not totally straight but I put the devided strips next to each other so that it fits. Afterwards I did see that the line wobbles. Maybe that will disappear when I have sanded the hull.

Box beam and strong back

I made a box beam following Nick’s book. I did use an inferior quality of underlayment 19 mm thick. The result is a box beam that is not complete linear. Therefore I made the openings in the frame 1 cm wider then the prescribed 2 by 4 inch.
I draw a straight line on top of the box beam and centered the frames on that line. The rest went as described in Nick’s book.

The box beam is placed on an external strong back. This gives place for equipment like staplers, saws and heatgun.

Ripping boards into strips.

I used the method described by Björn Thomasson (http://www.thomassondesign.com/building/building_manual/preparations.aspx). At first I prepared my circular saw with a wider foot plate and a longer fence.

I thought it worked reasonable well but I payed not enough attention to the strip width. Now I have strips with varying strip thickness. I think the sawdust coming between board and fence caused the difference. I tried hard to keep the fence against the board but sometimes there was a little gap which i could not pull tight.
So now I have to use strips with different thickness and that will give a lot of extra work in sanding.

Next time I will make my strips on a table saw.

Building the Night Heron designed by Nick Schade

Aside

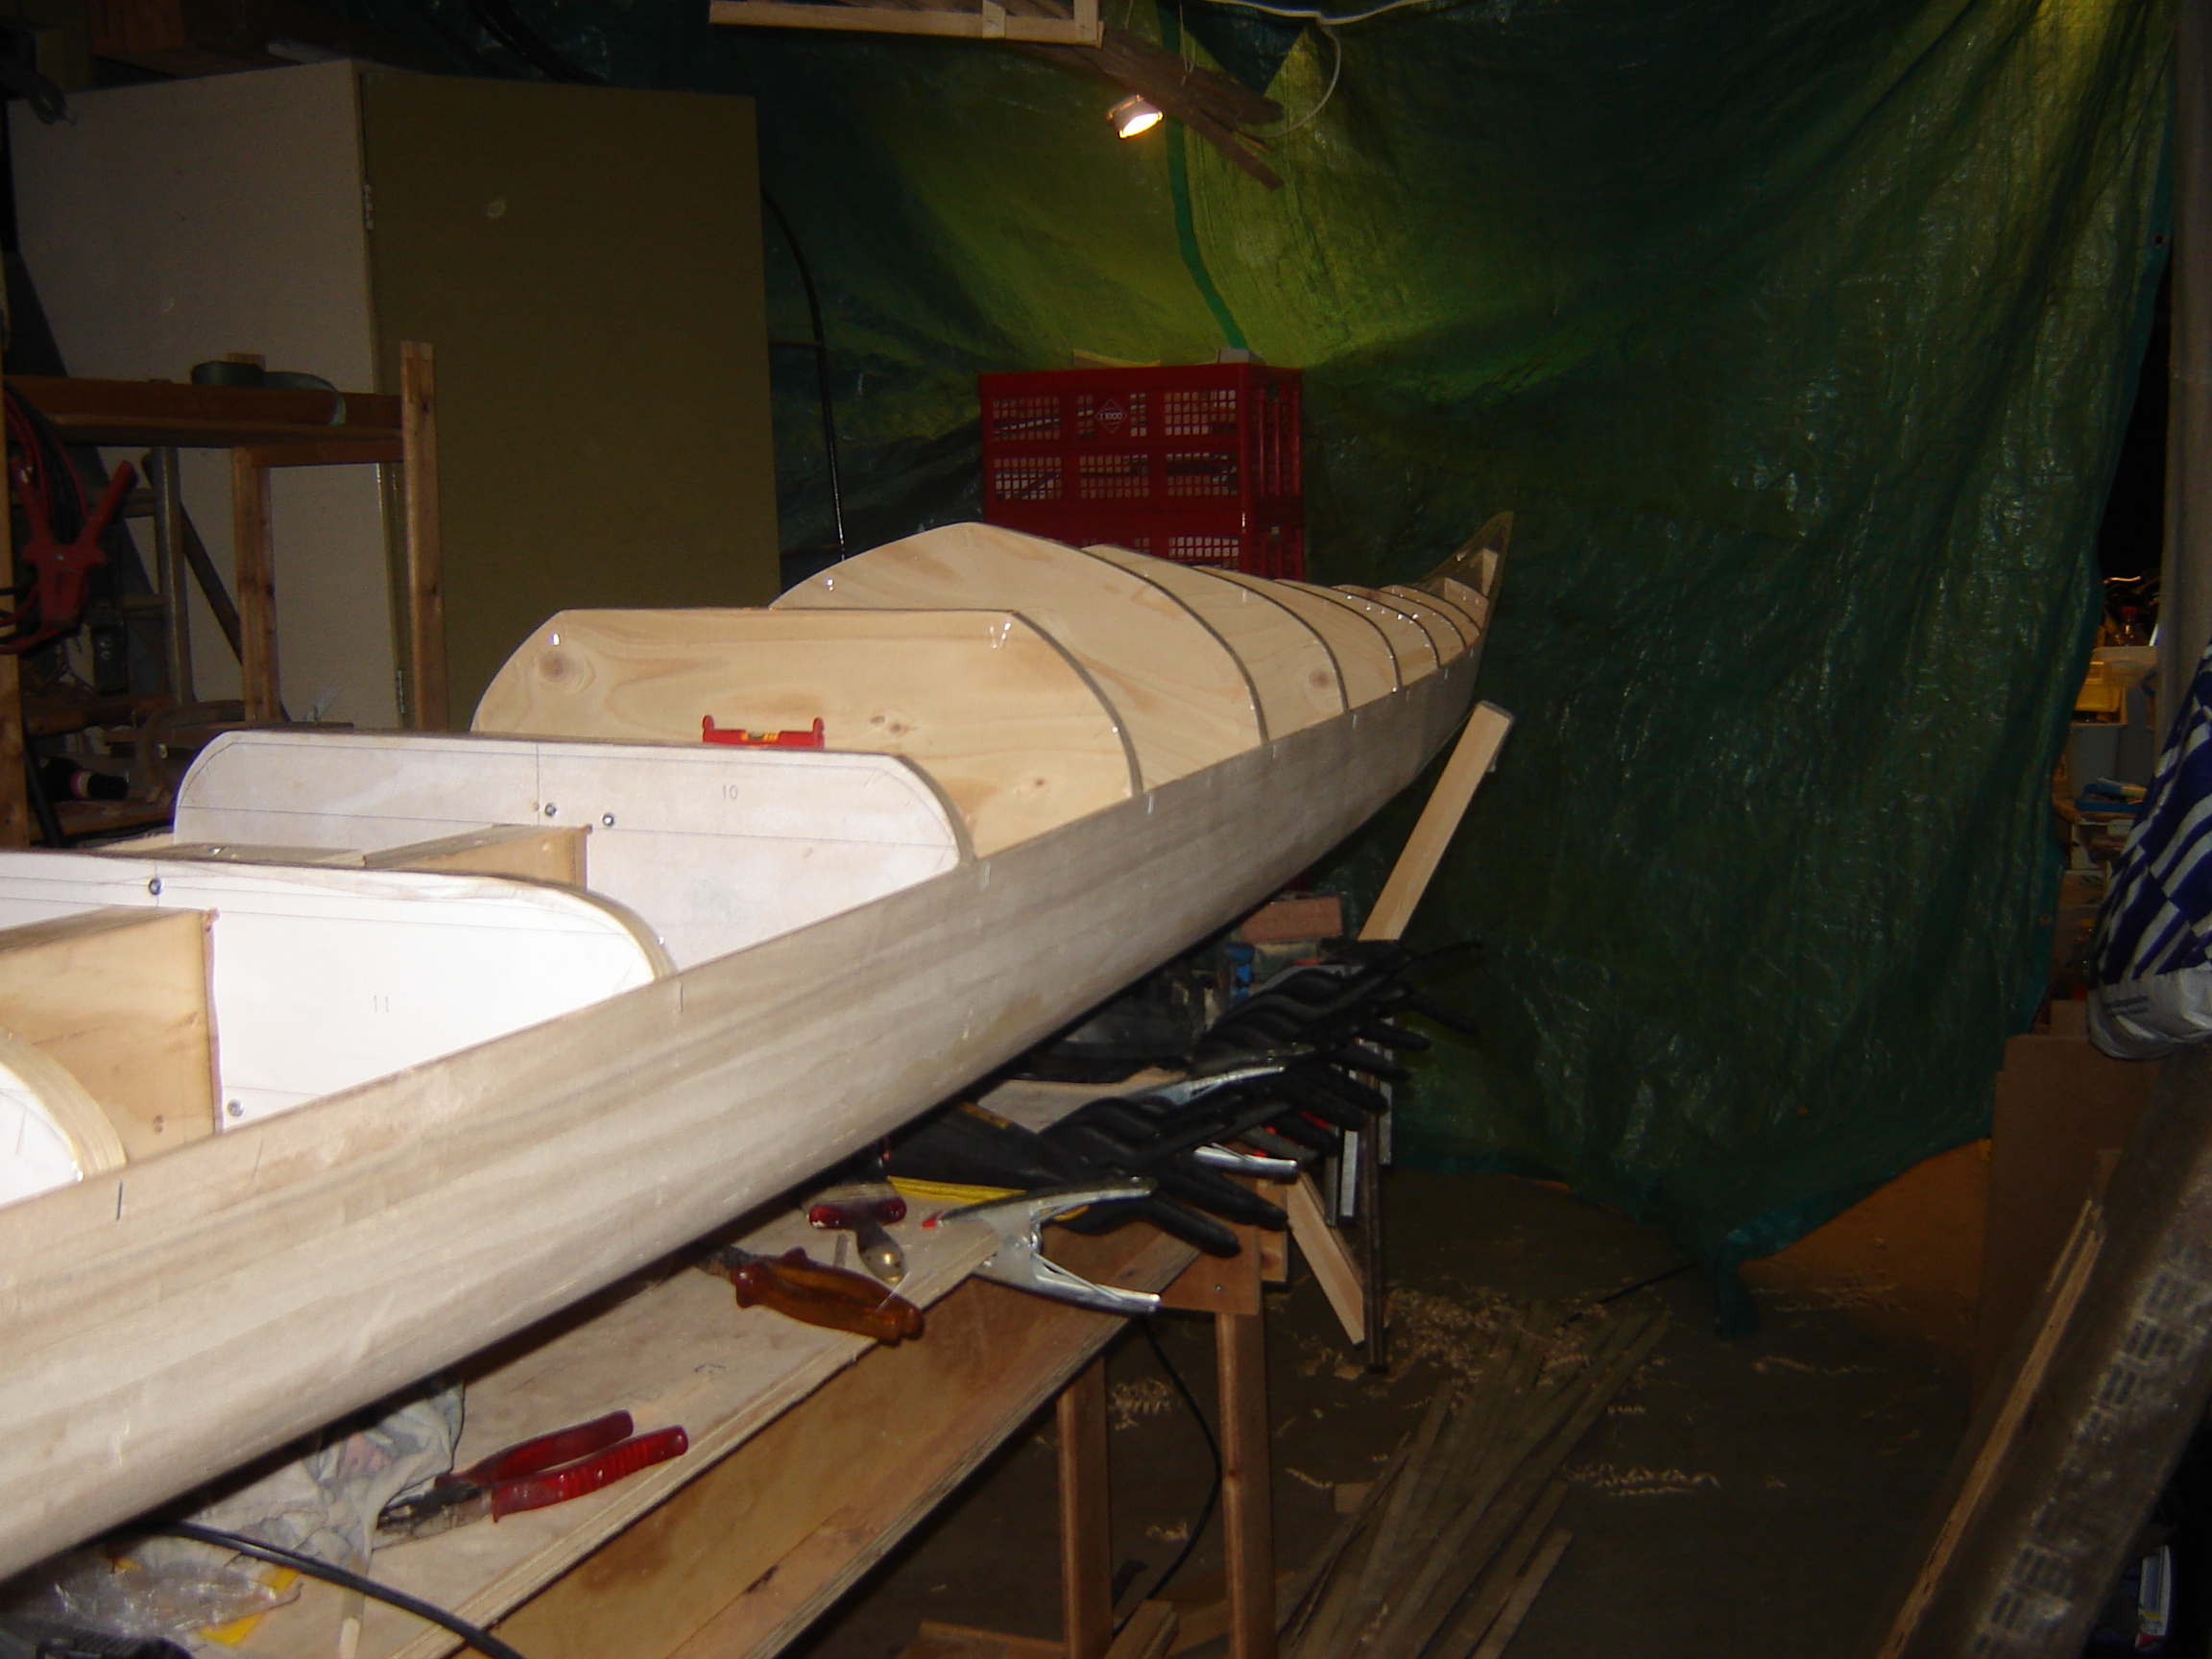
After long years reading, lurking Nicks website and waiting, I started making the boxbeam. I hope it is not too flexible. I read that after the first strips on both sides it will be much stiffer but I know that will only be in the horizontal plane. Off course is the beam much stiffer in the verical plane but not as stiff as I expected.
It is made frome underlayment ply 19 mm (3/4″) thick and I followed Nicks book.

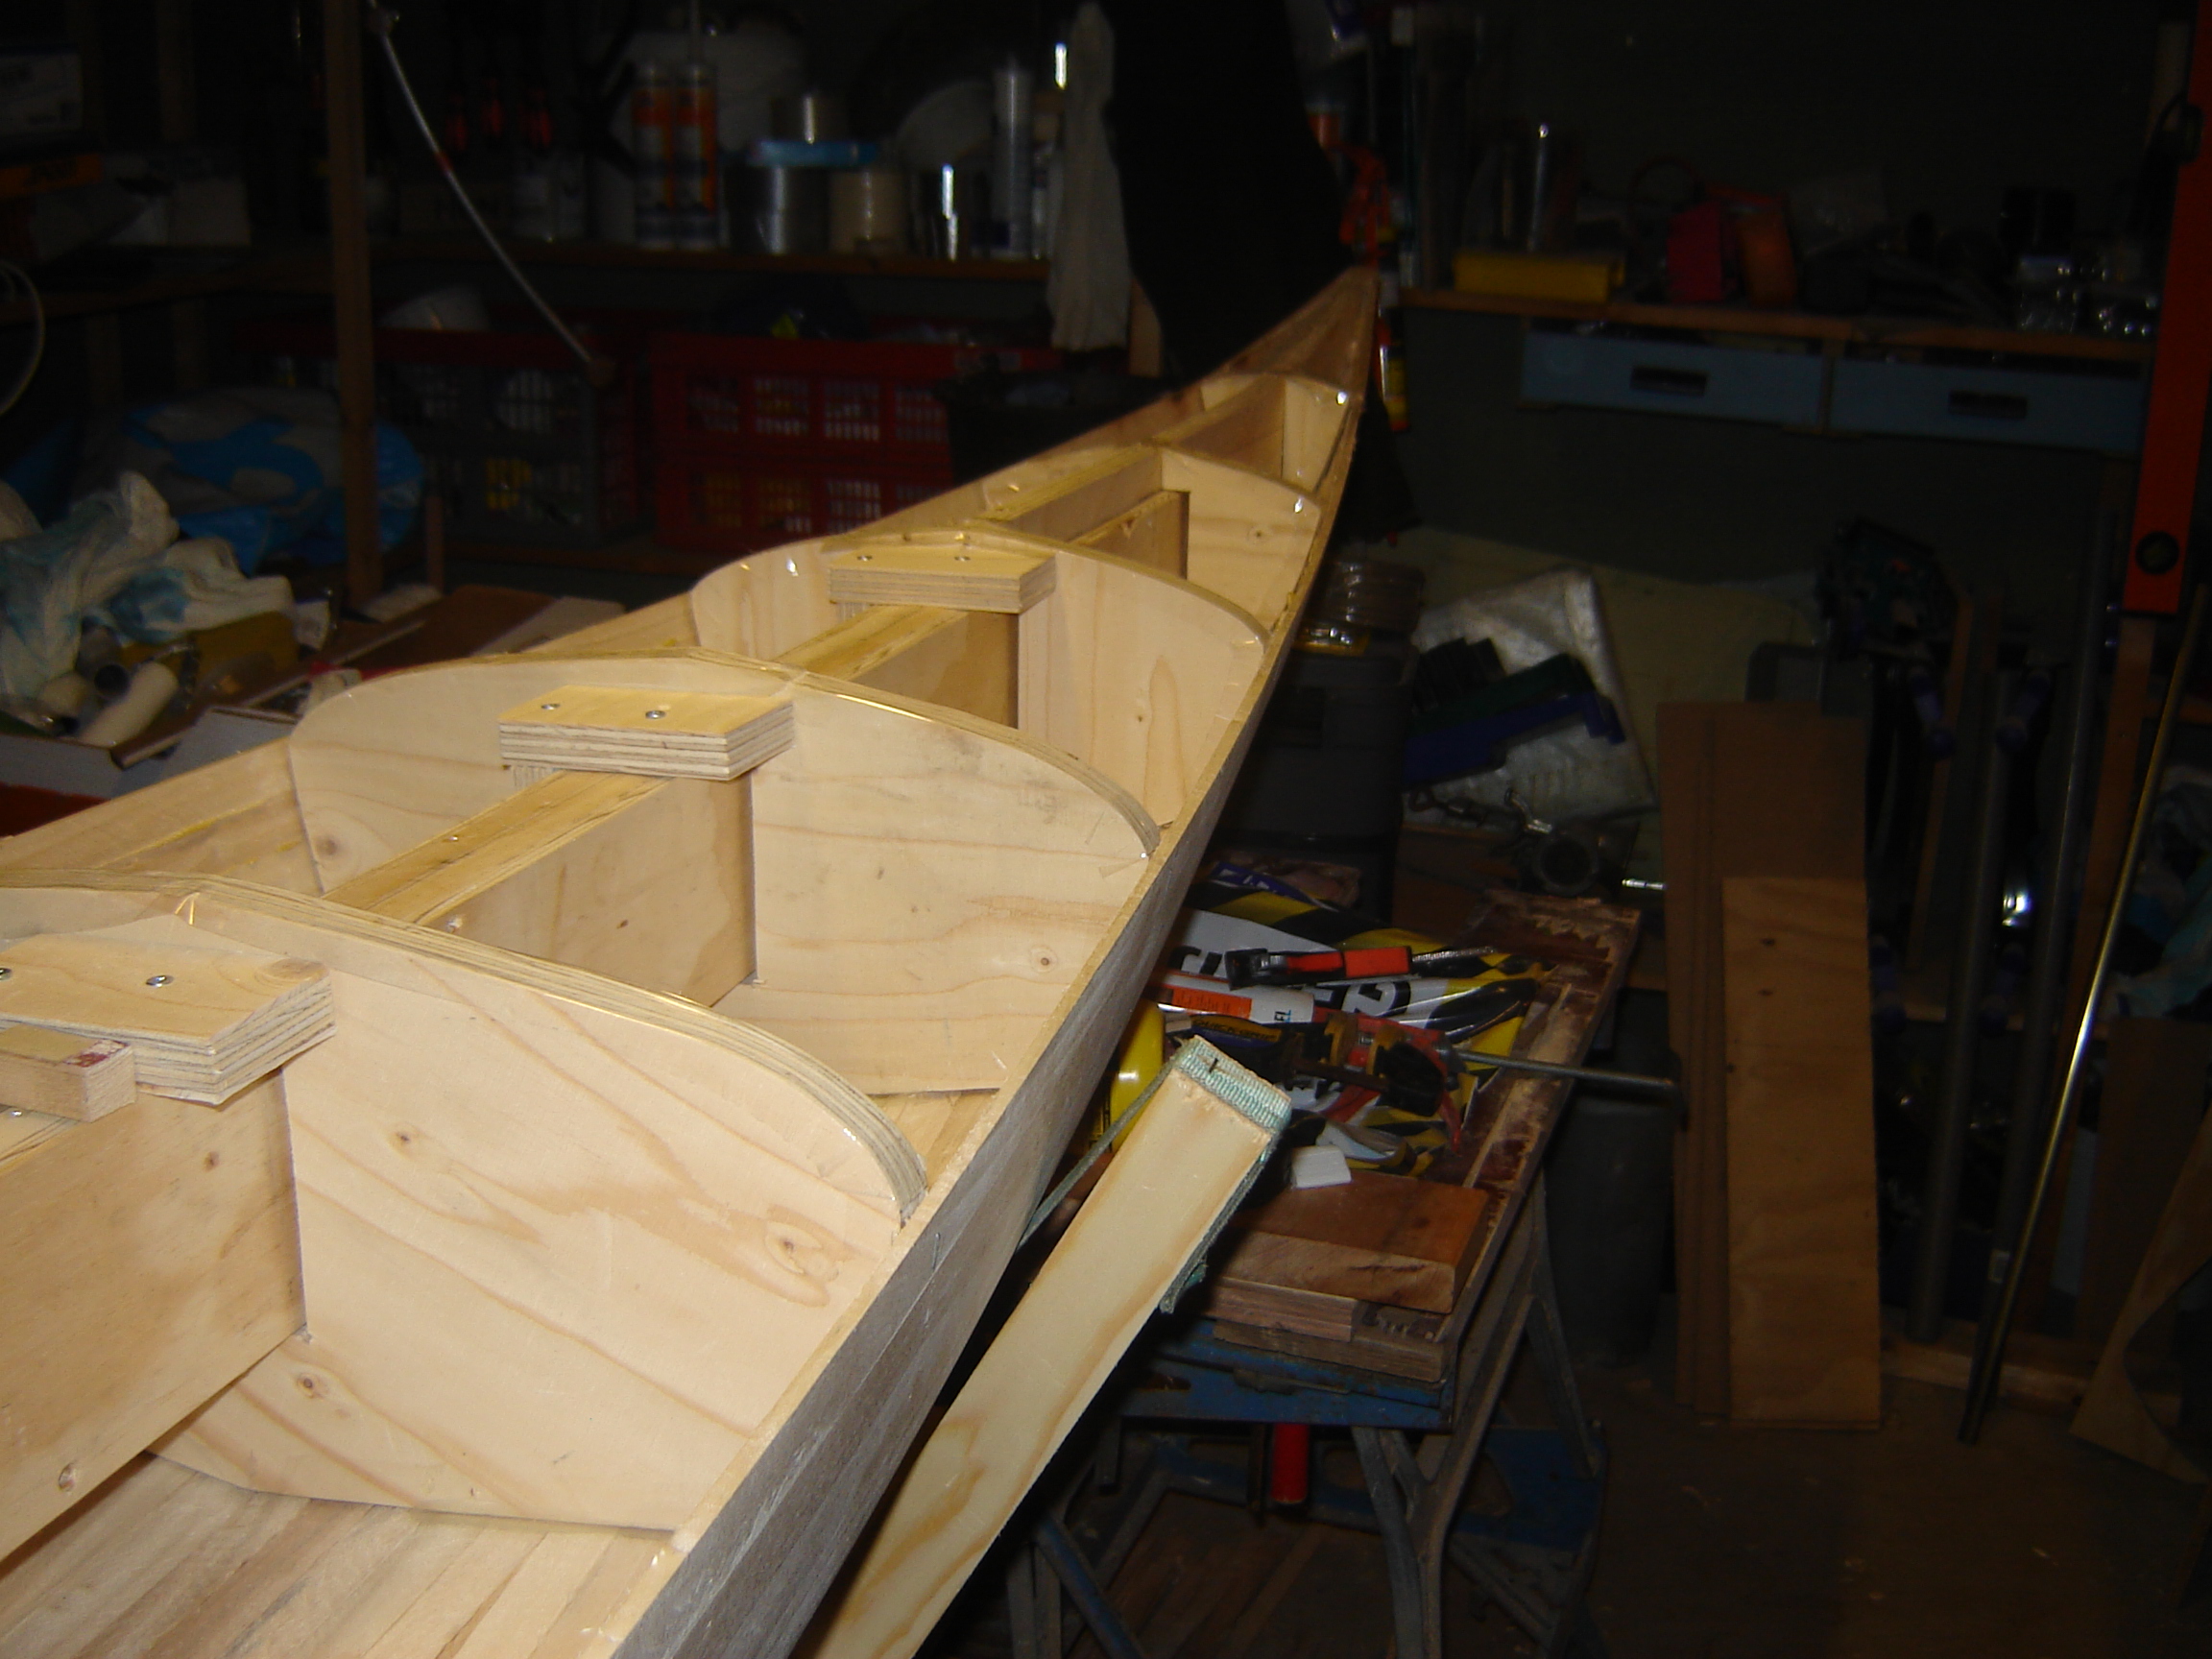
Second I made a copy of the frames from Nicks drawing because I did not like setting the siccors in the original. It did cost almost € 20,– but it saved a lot of work. At first I planned to use carbon-paper to make a copy on the wood.

To morrow I start glueing the frame plans on a piece of A-quality underlayment and I will cut it out with a saber-saw. I will use a saw with teeth in the opposite direction to prevent lifting of the glued paper.

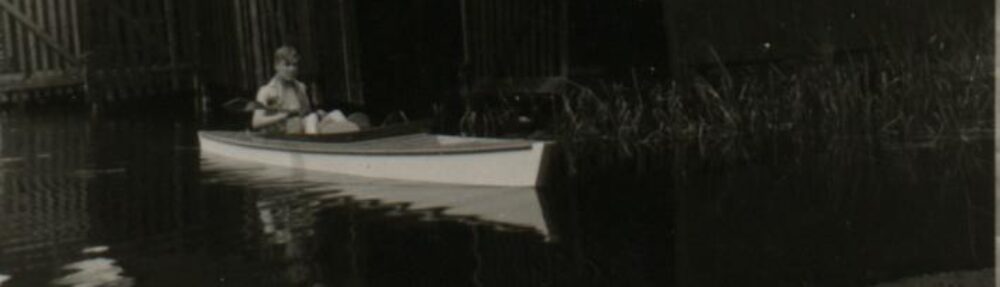
Ten years ago I did build the Guillemot Stich and Glue and it has been my favorit since then.
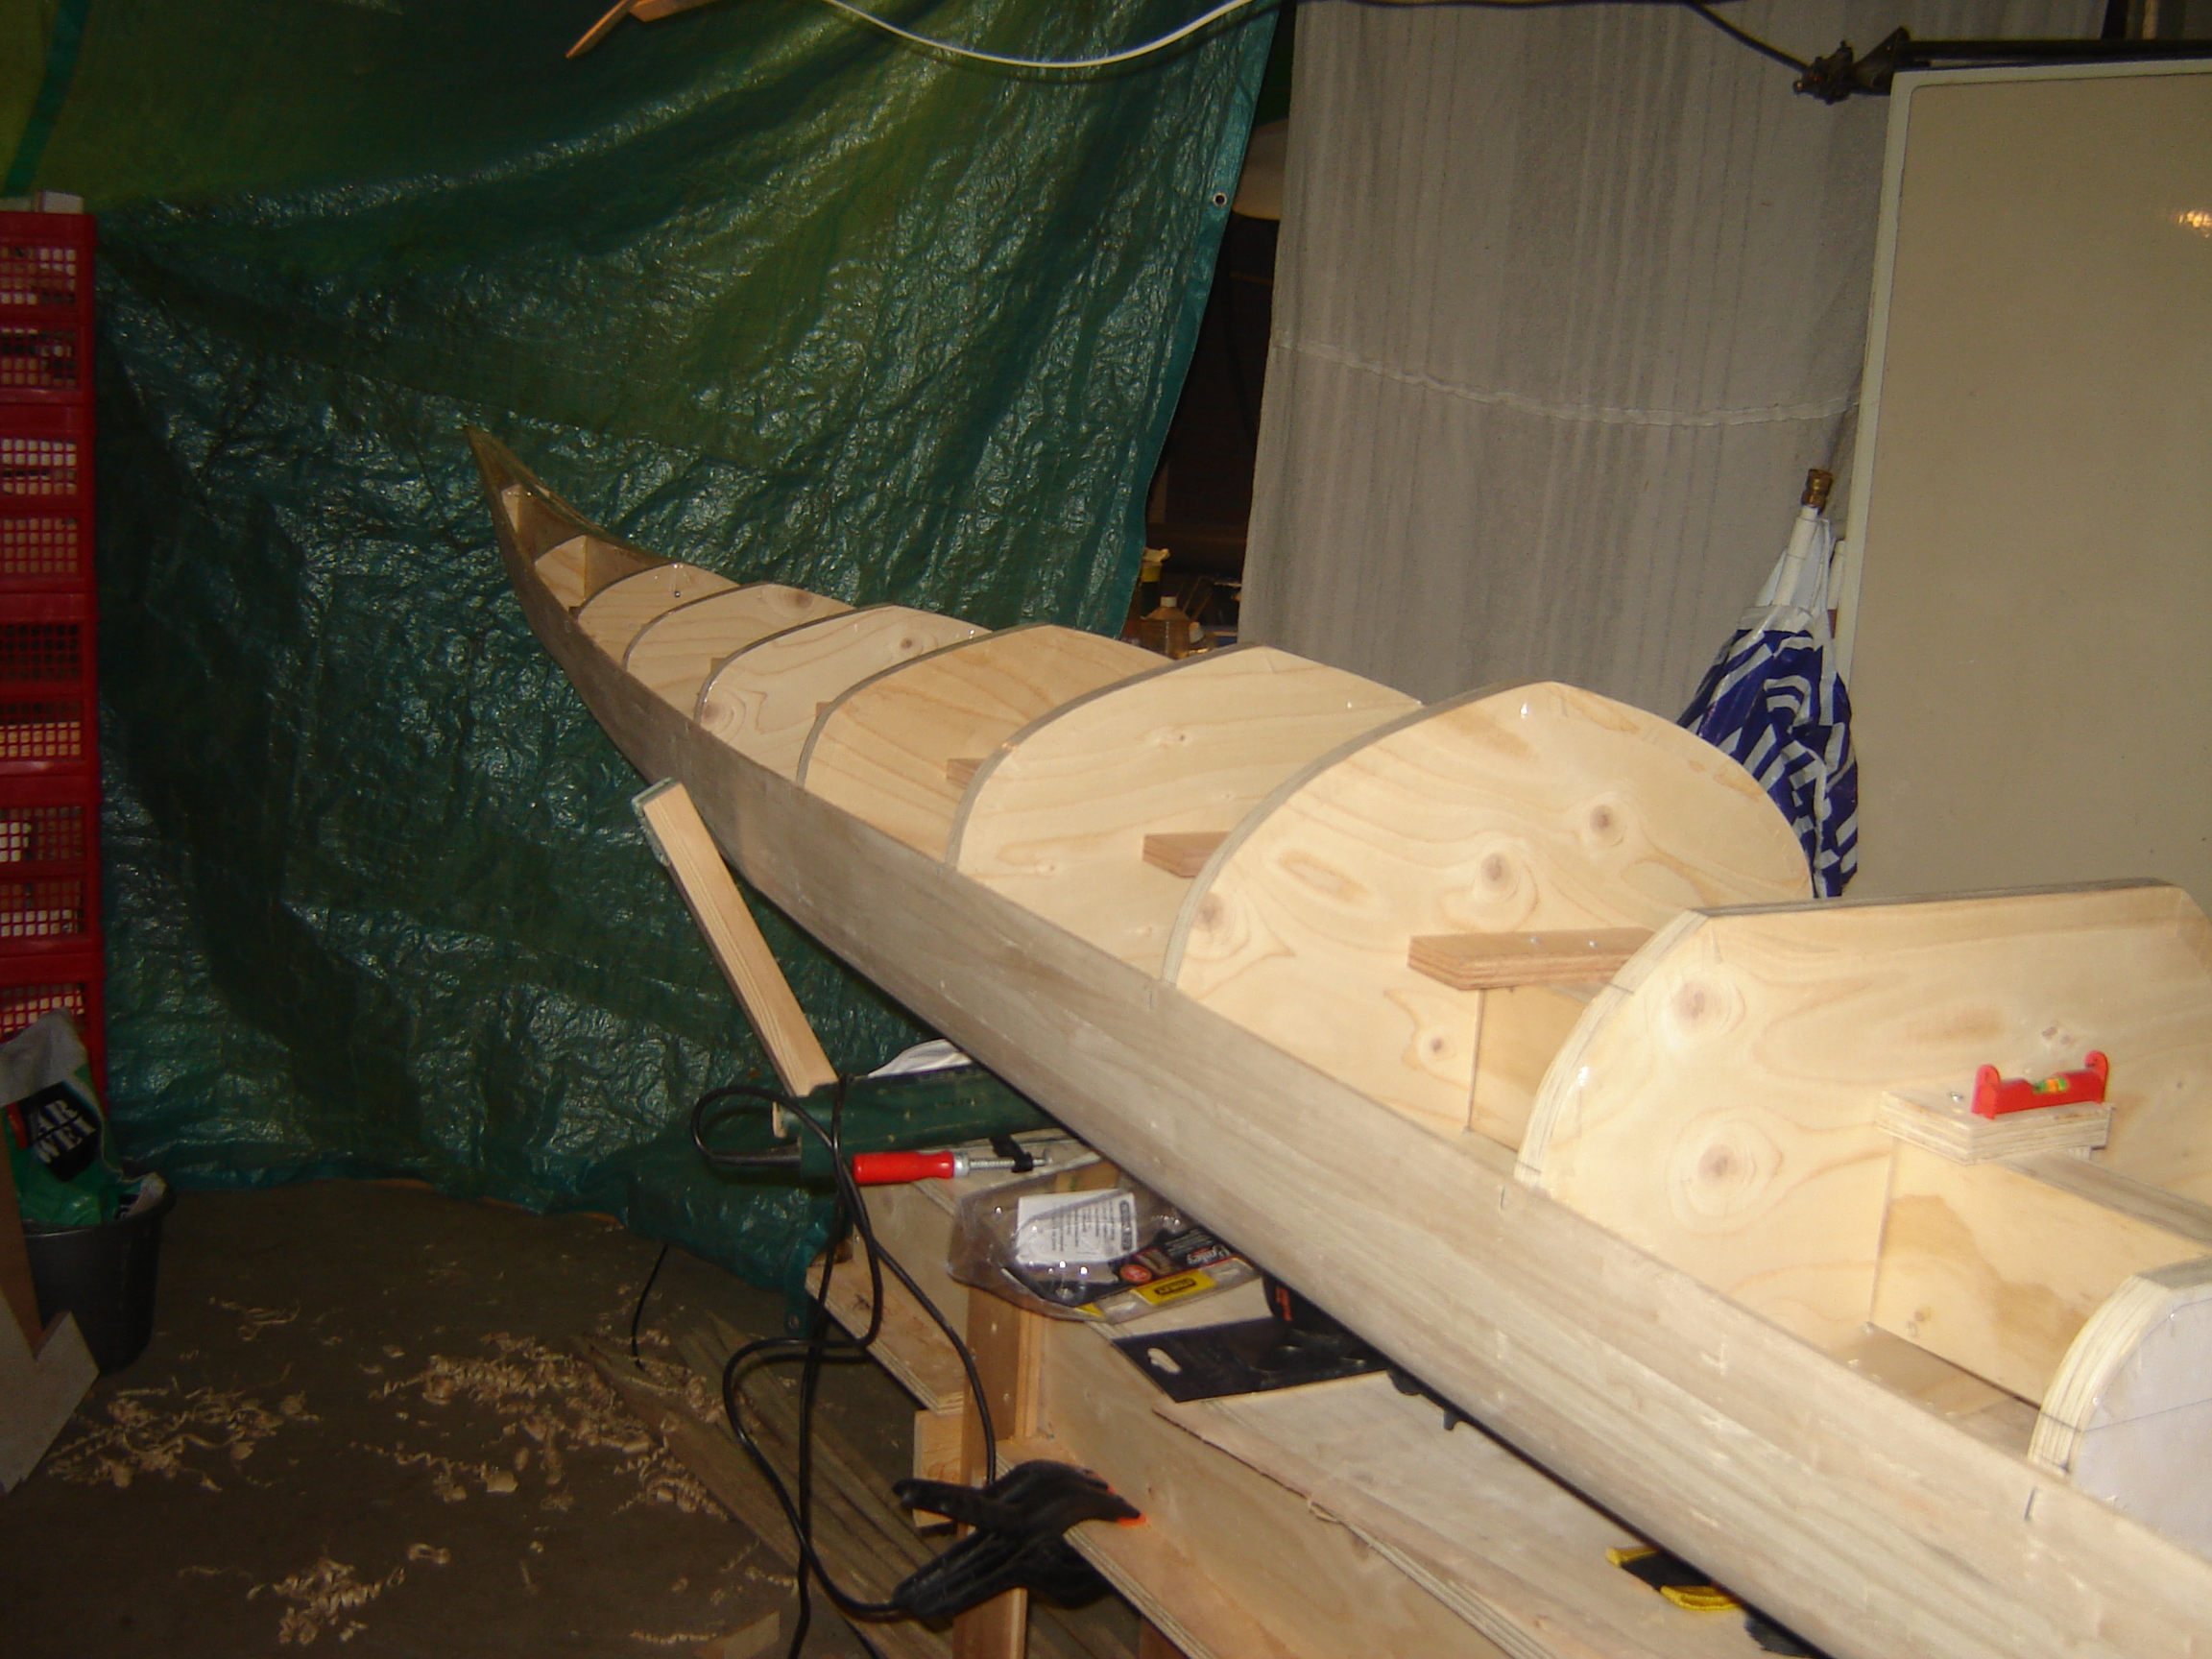
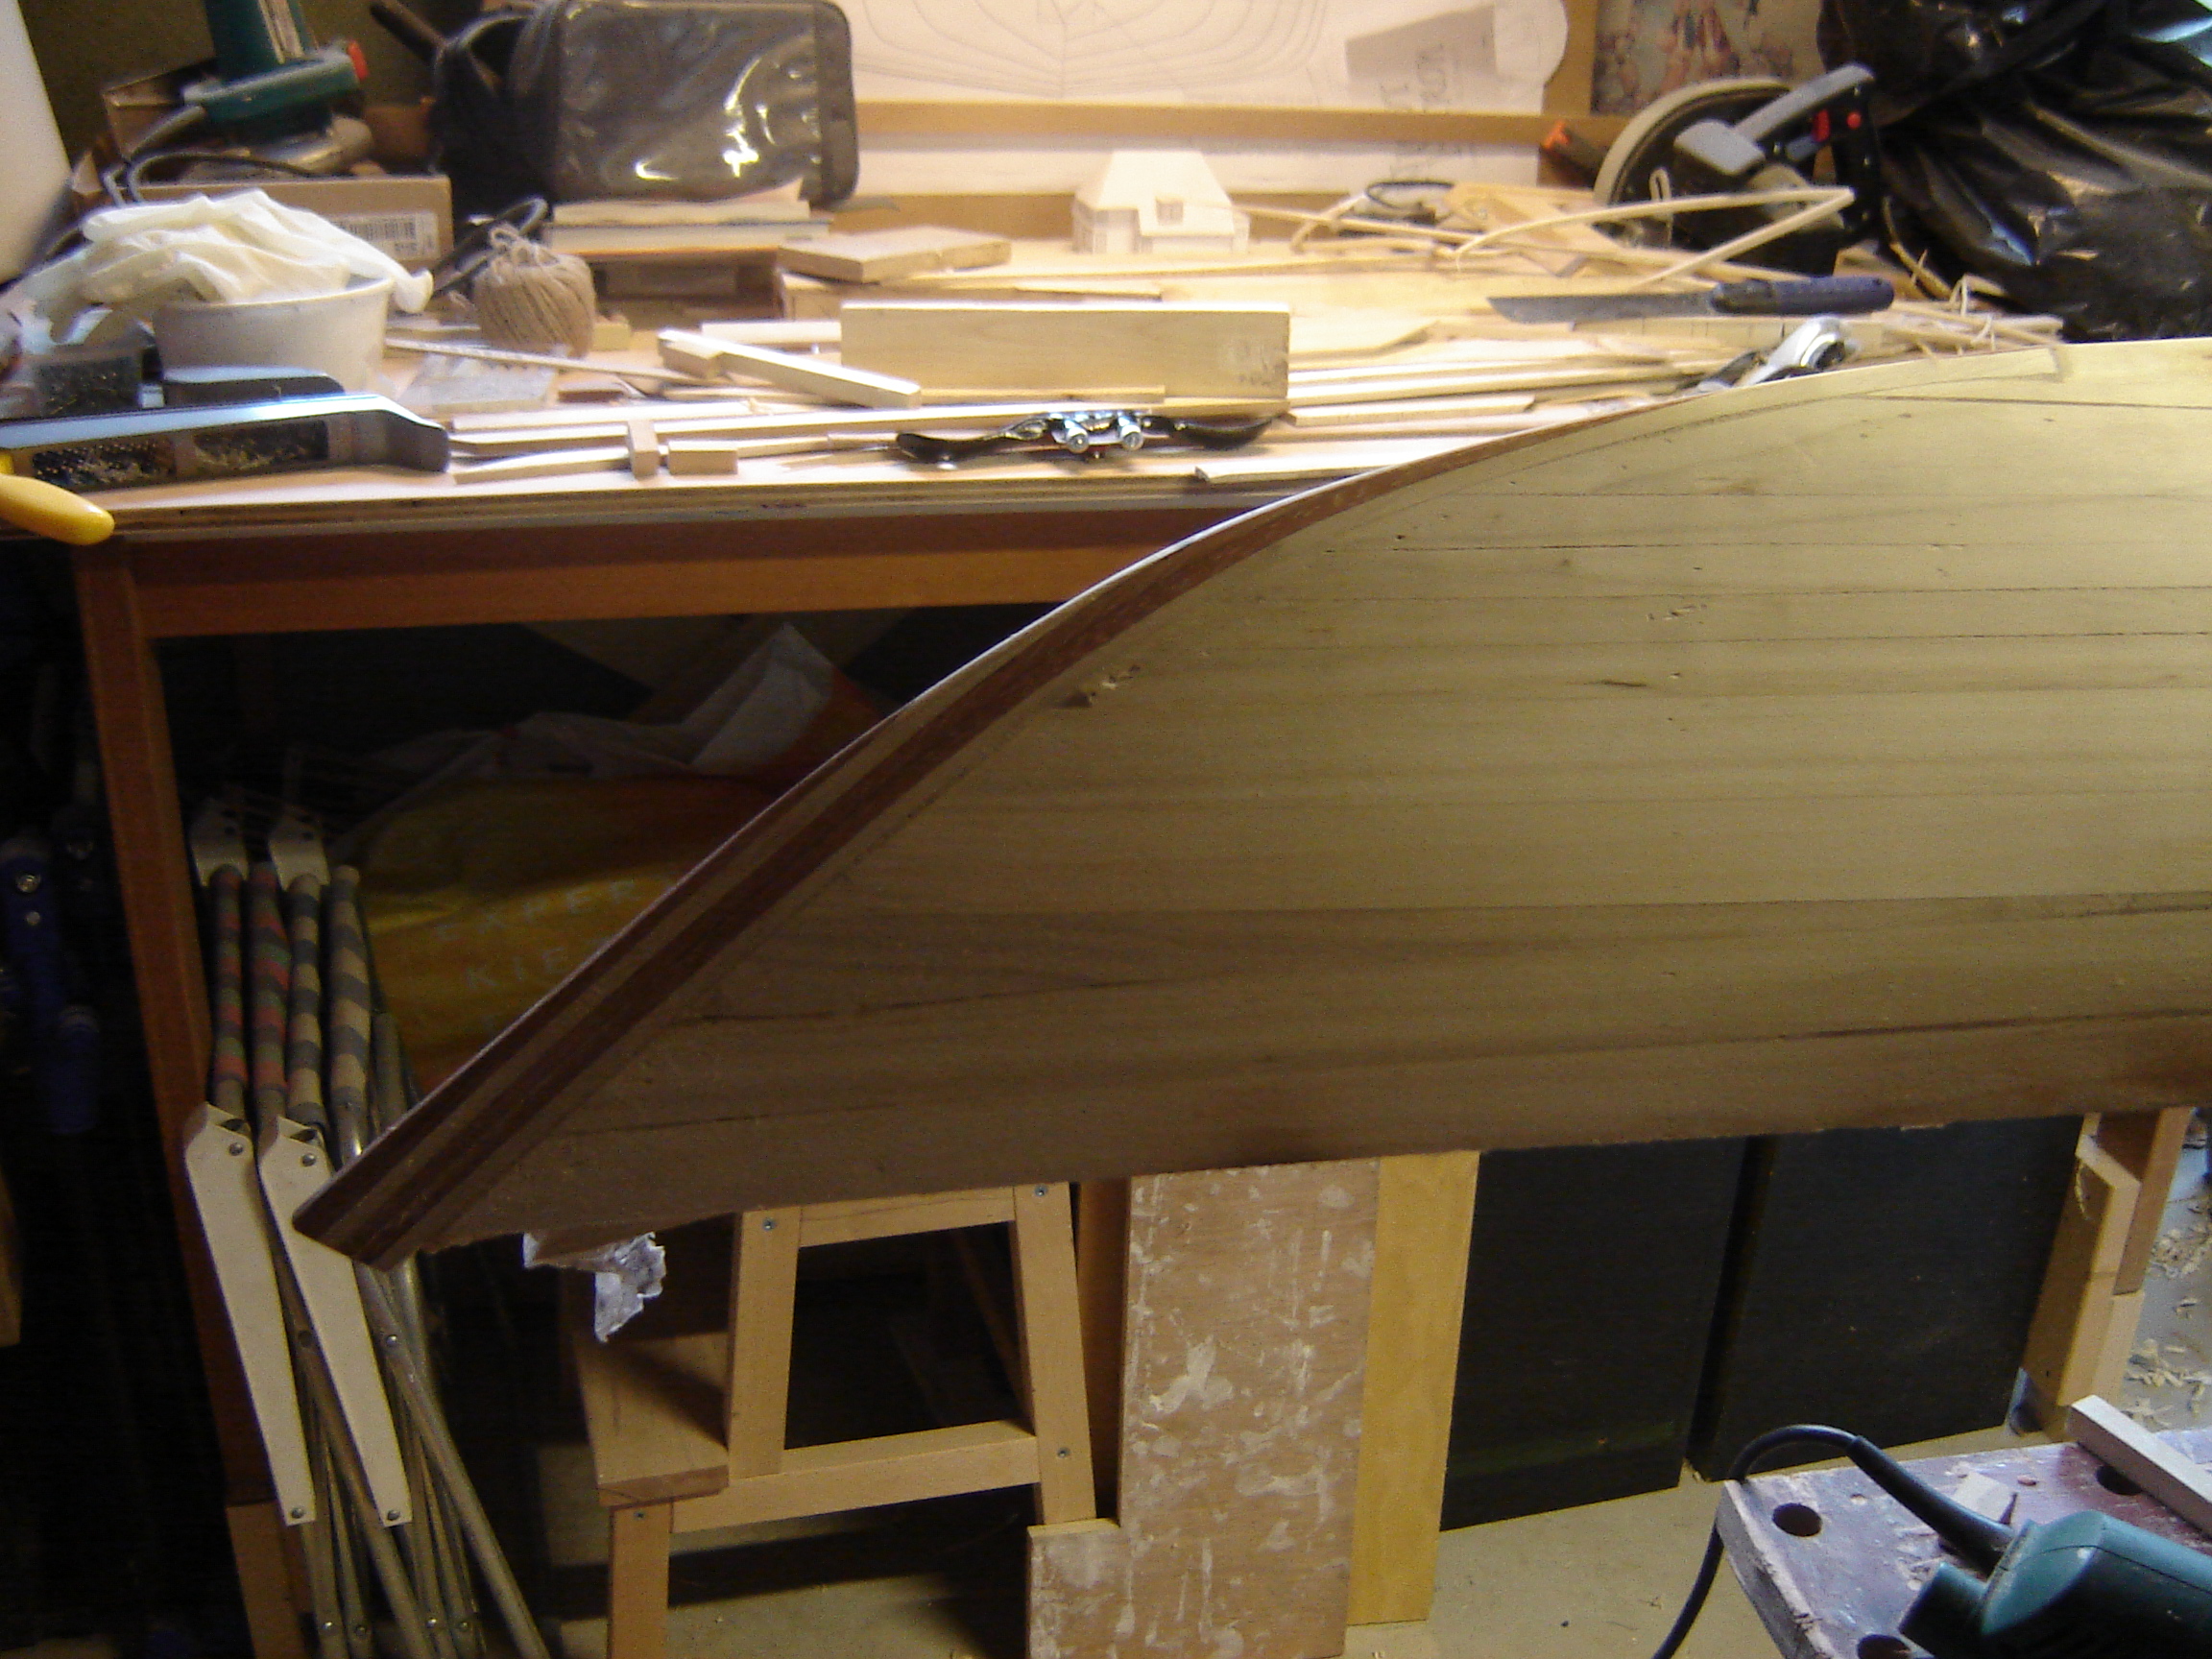
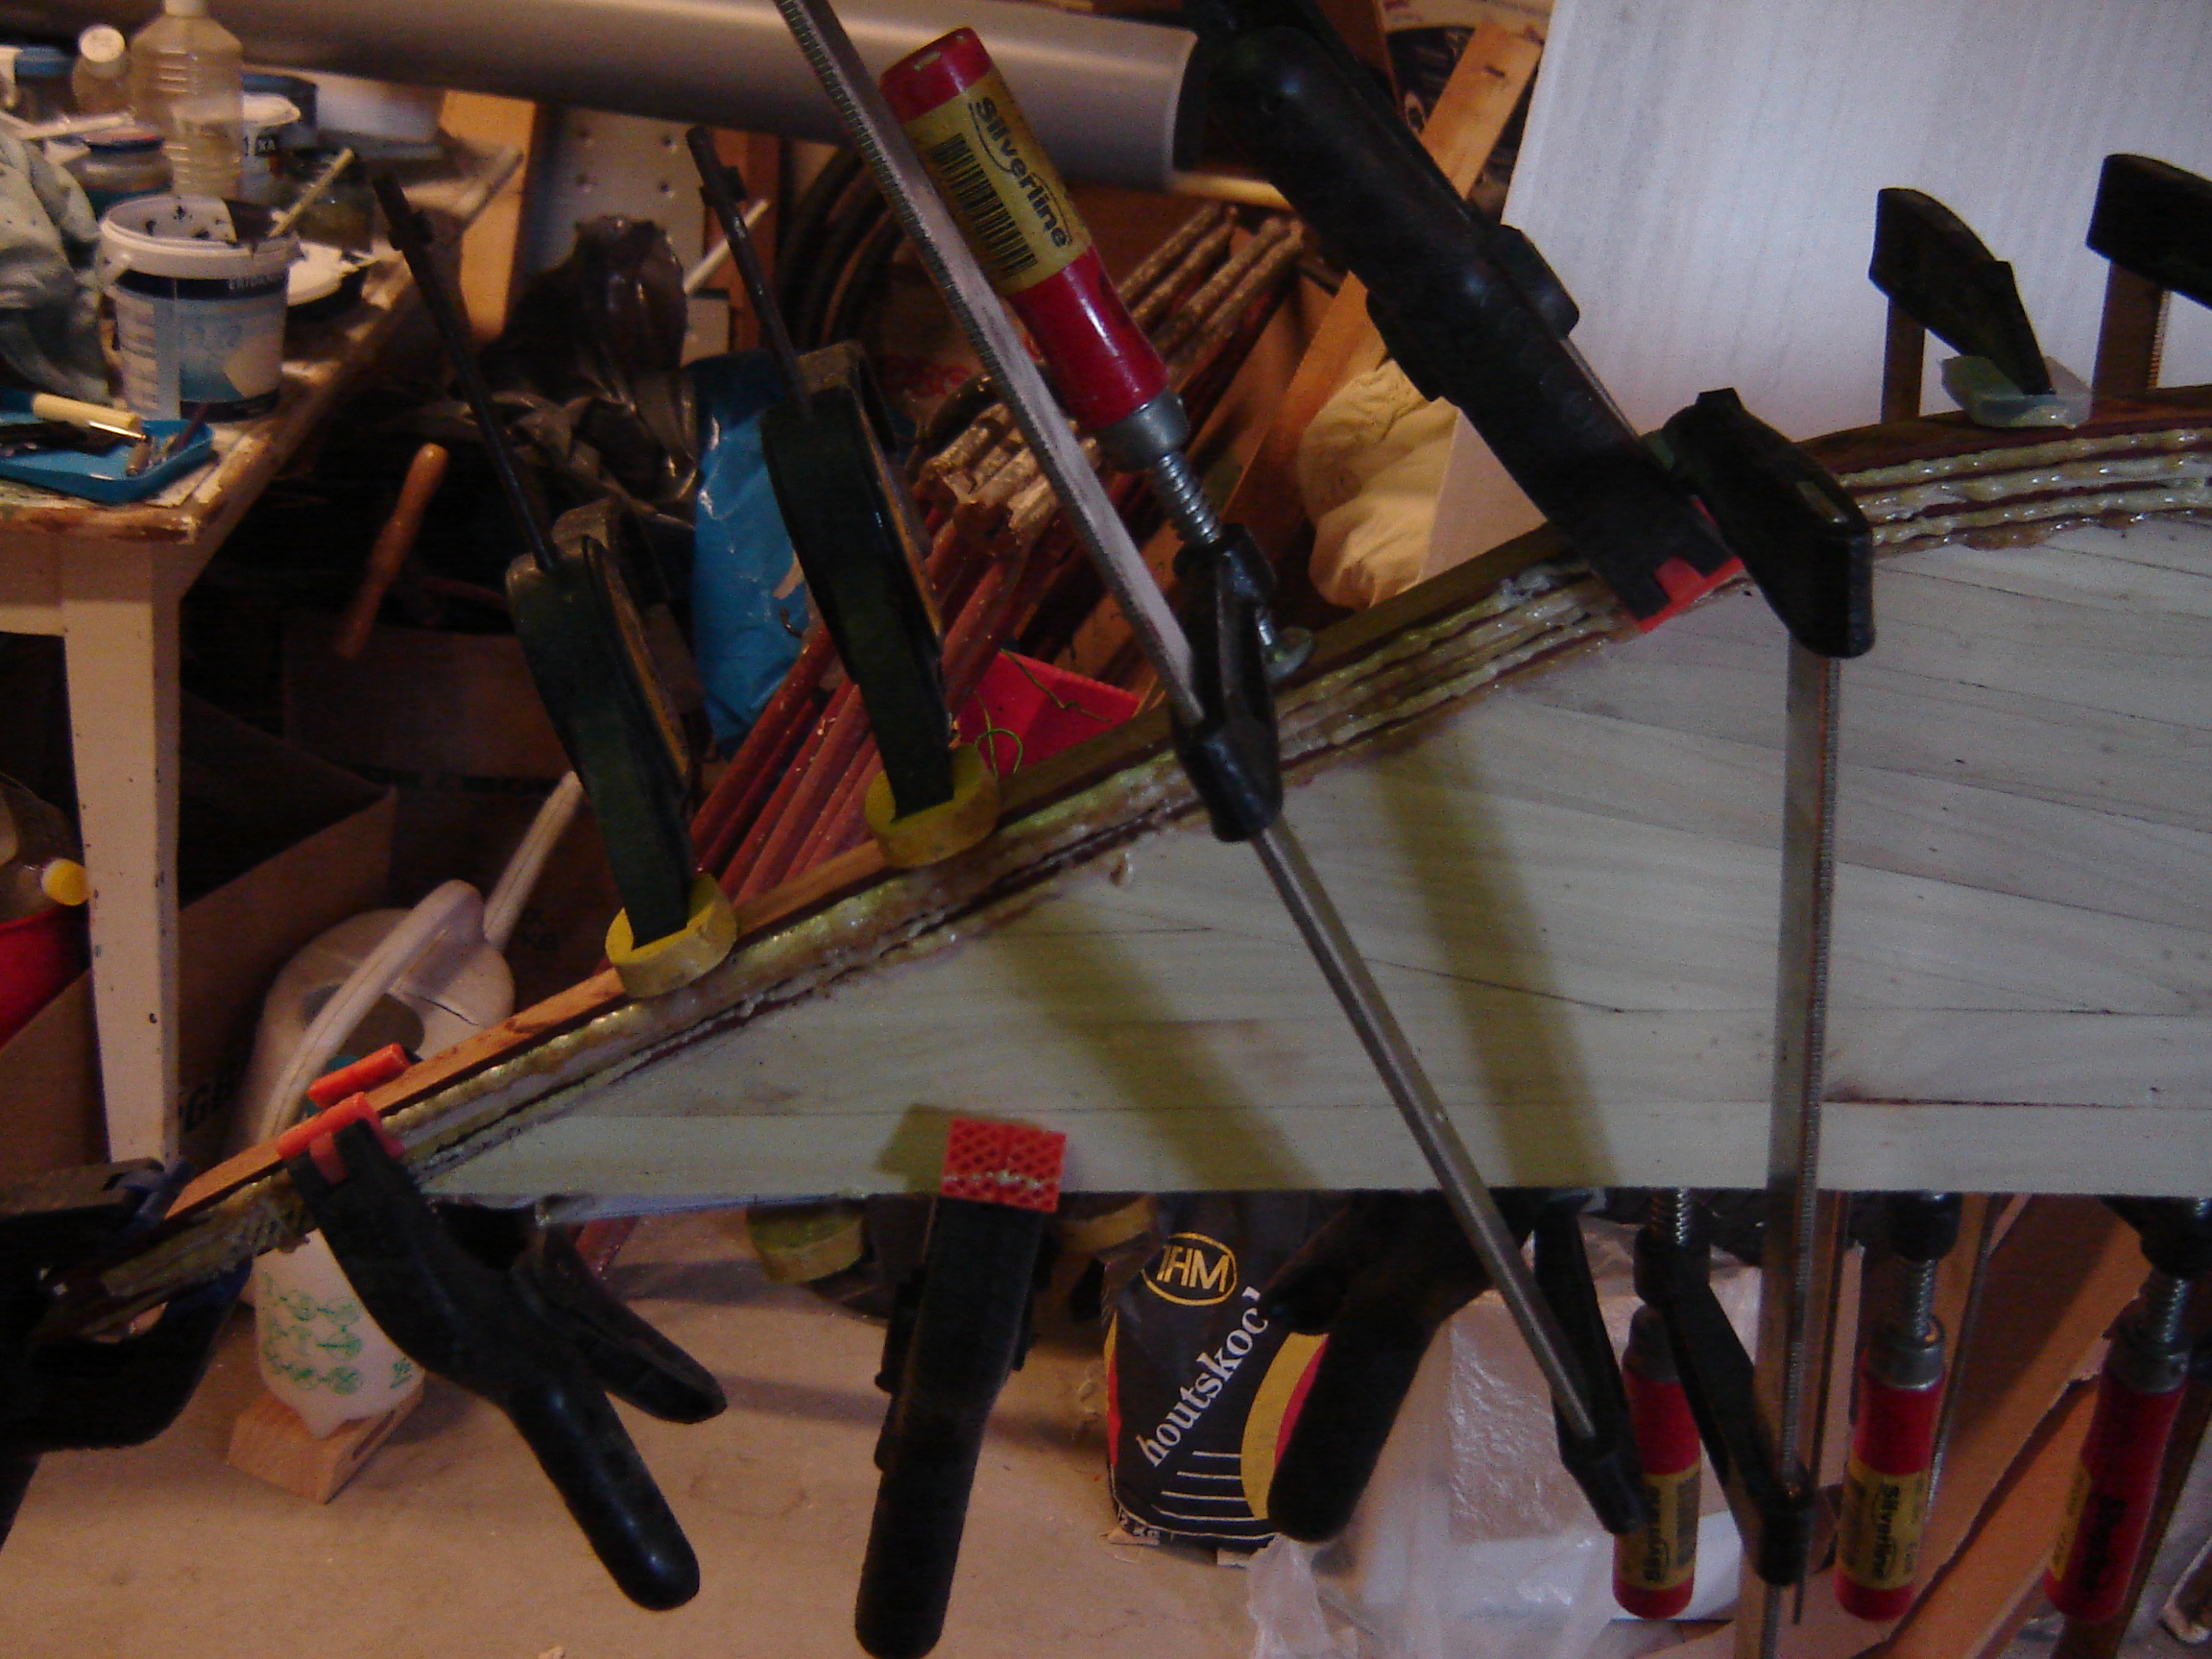
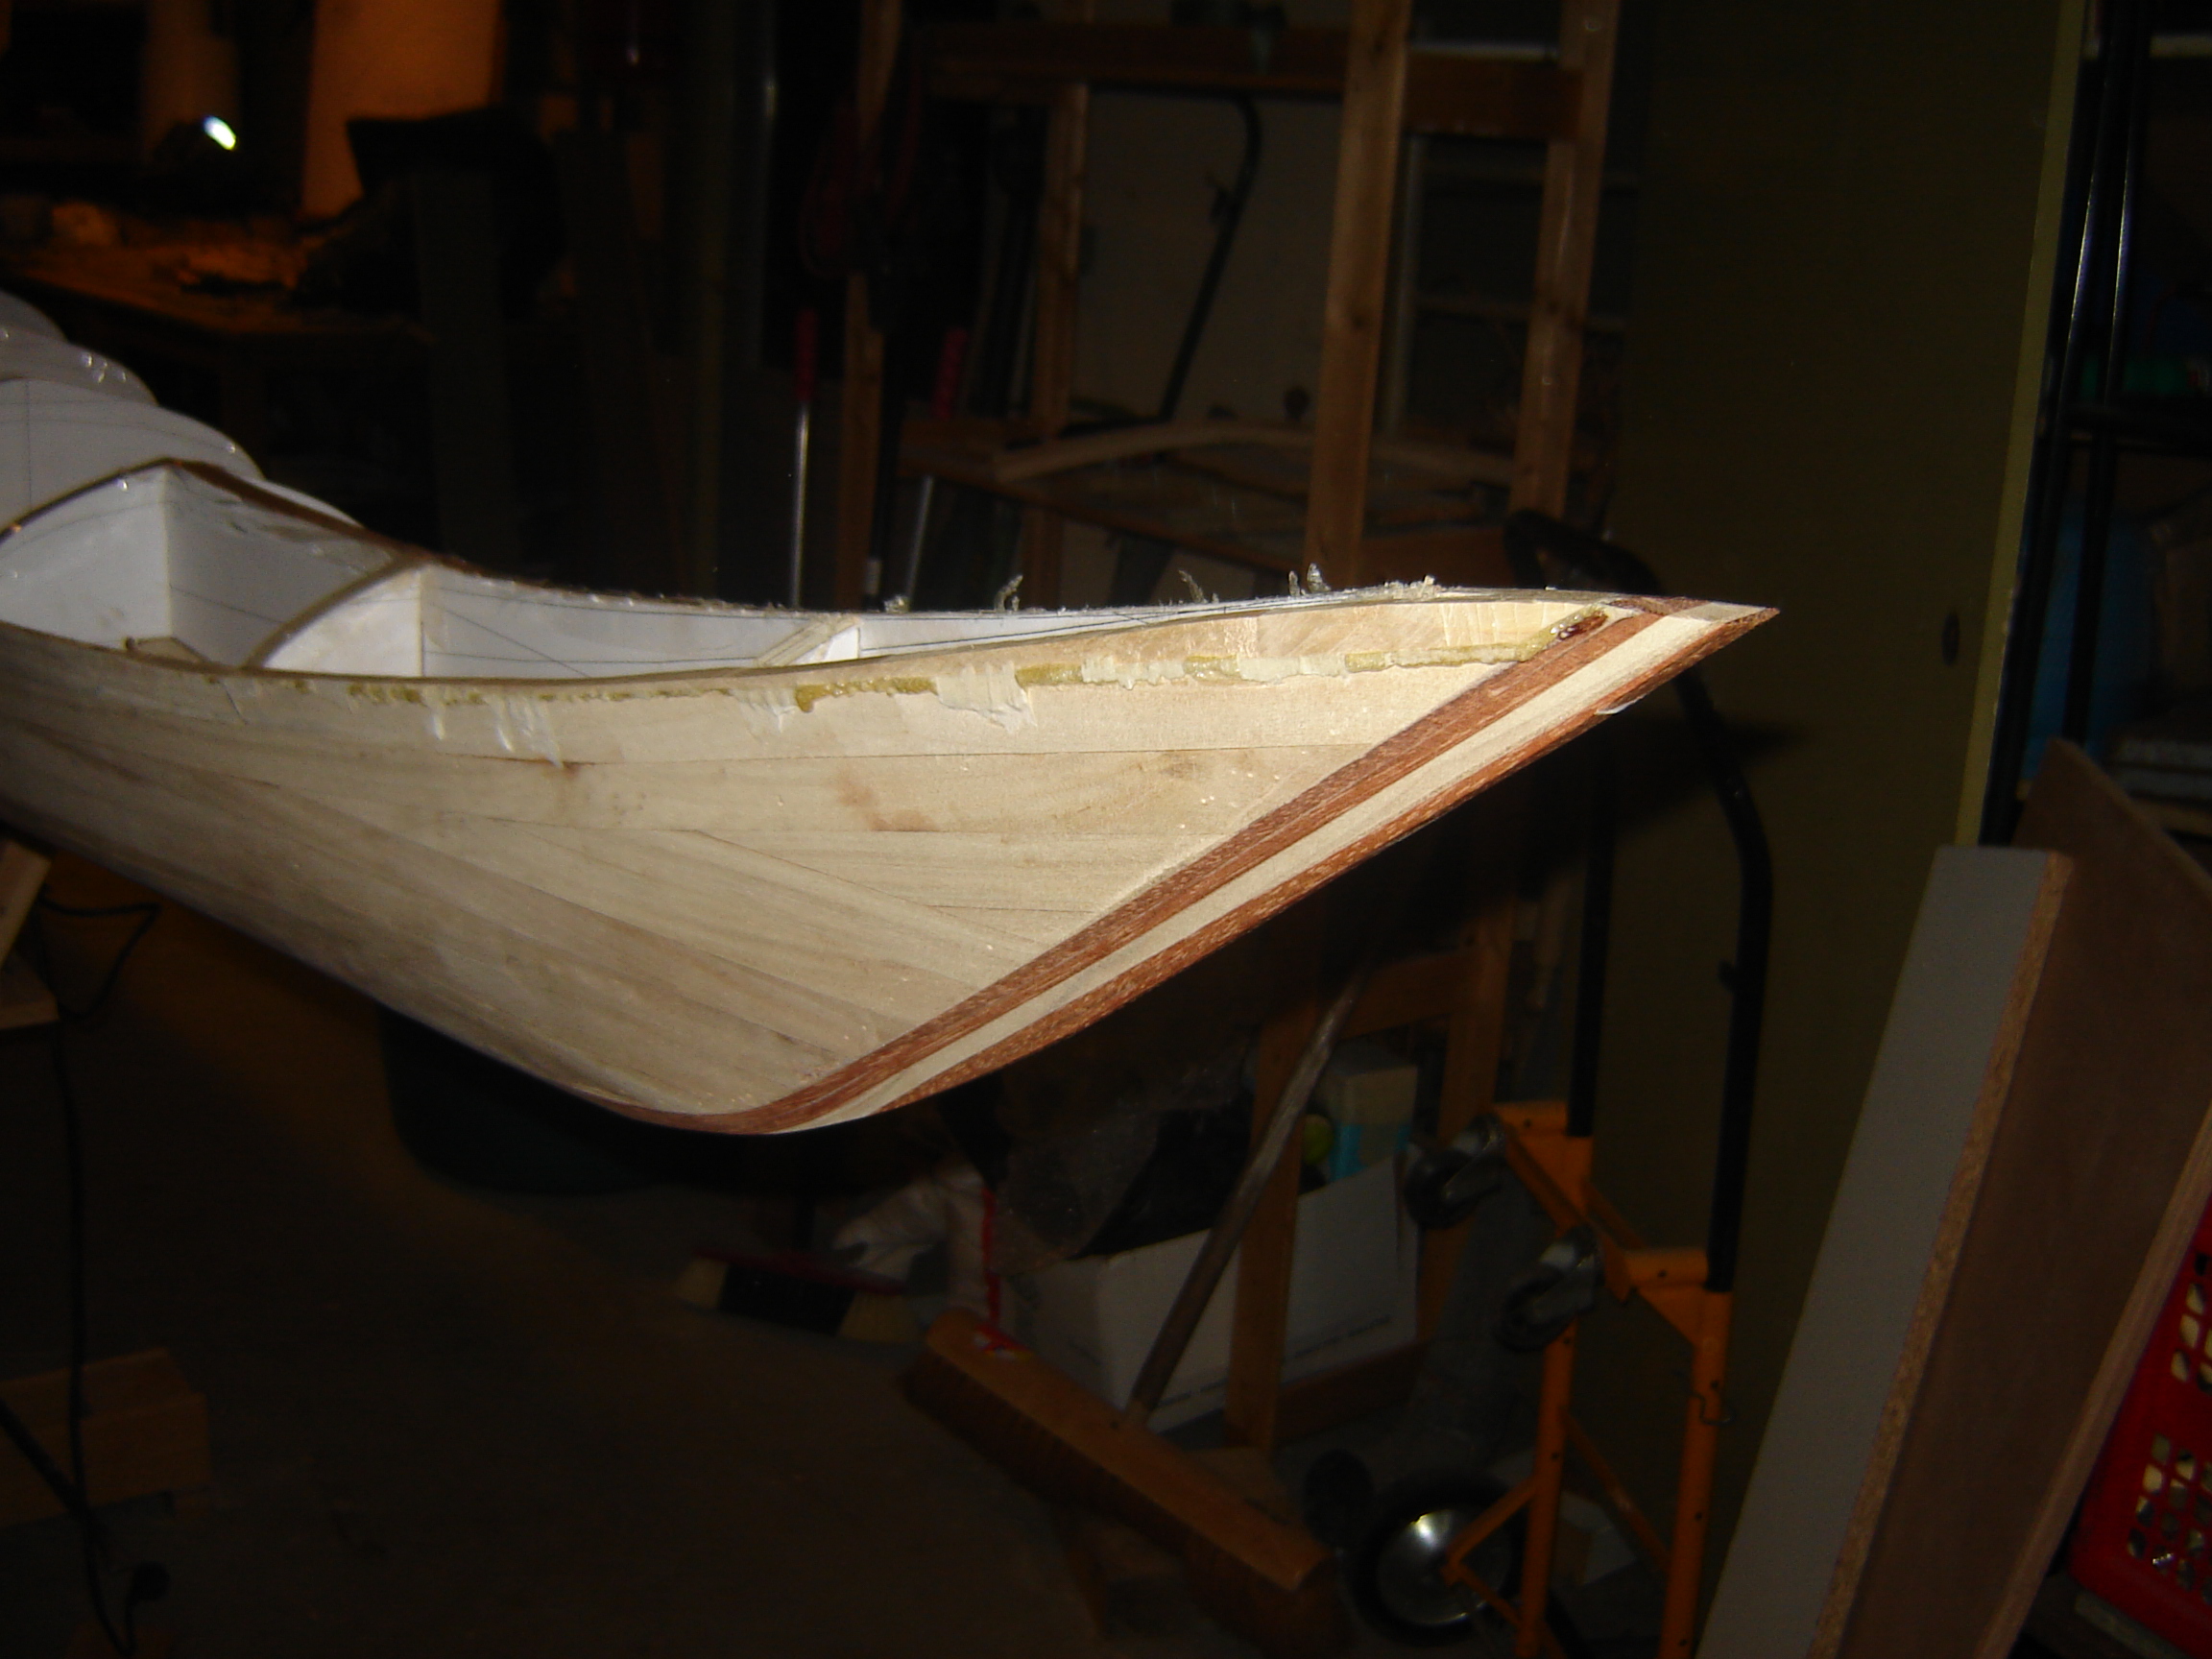
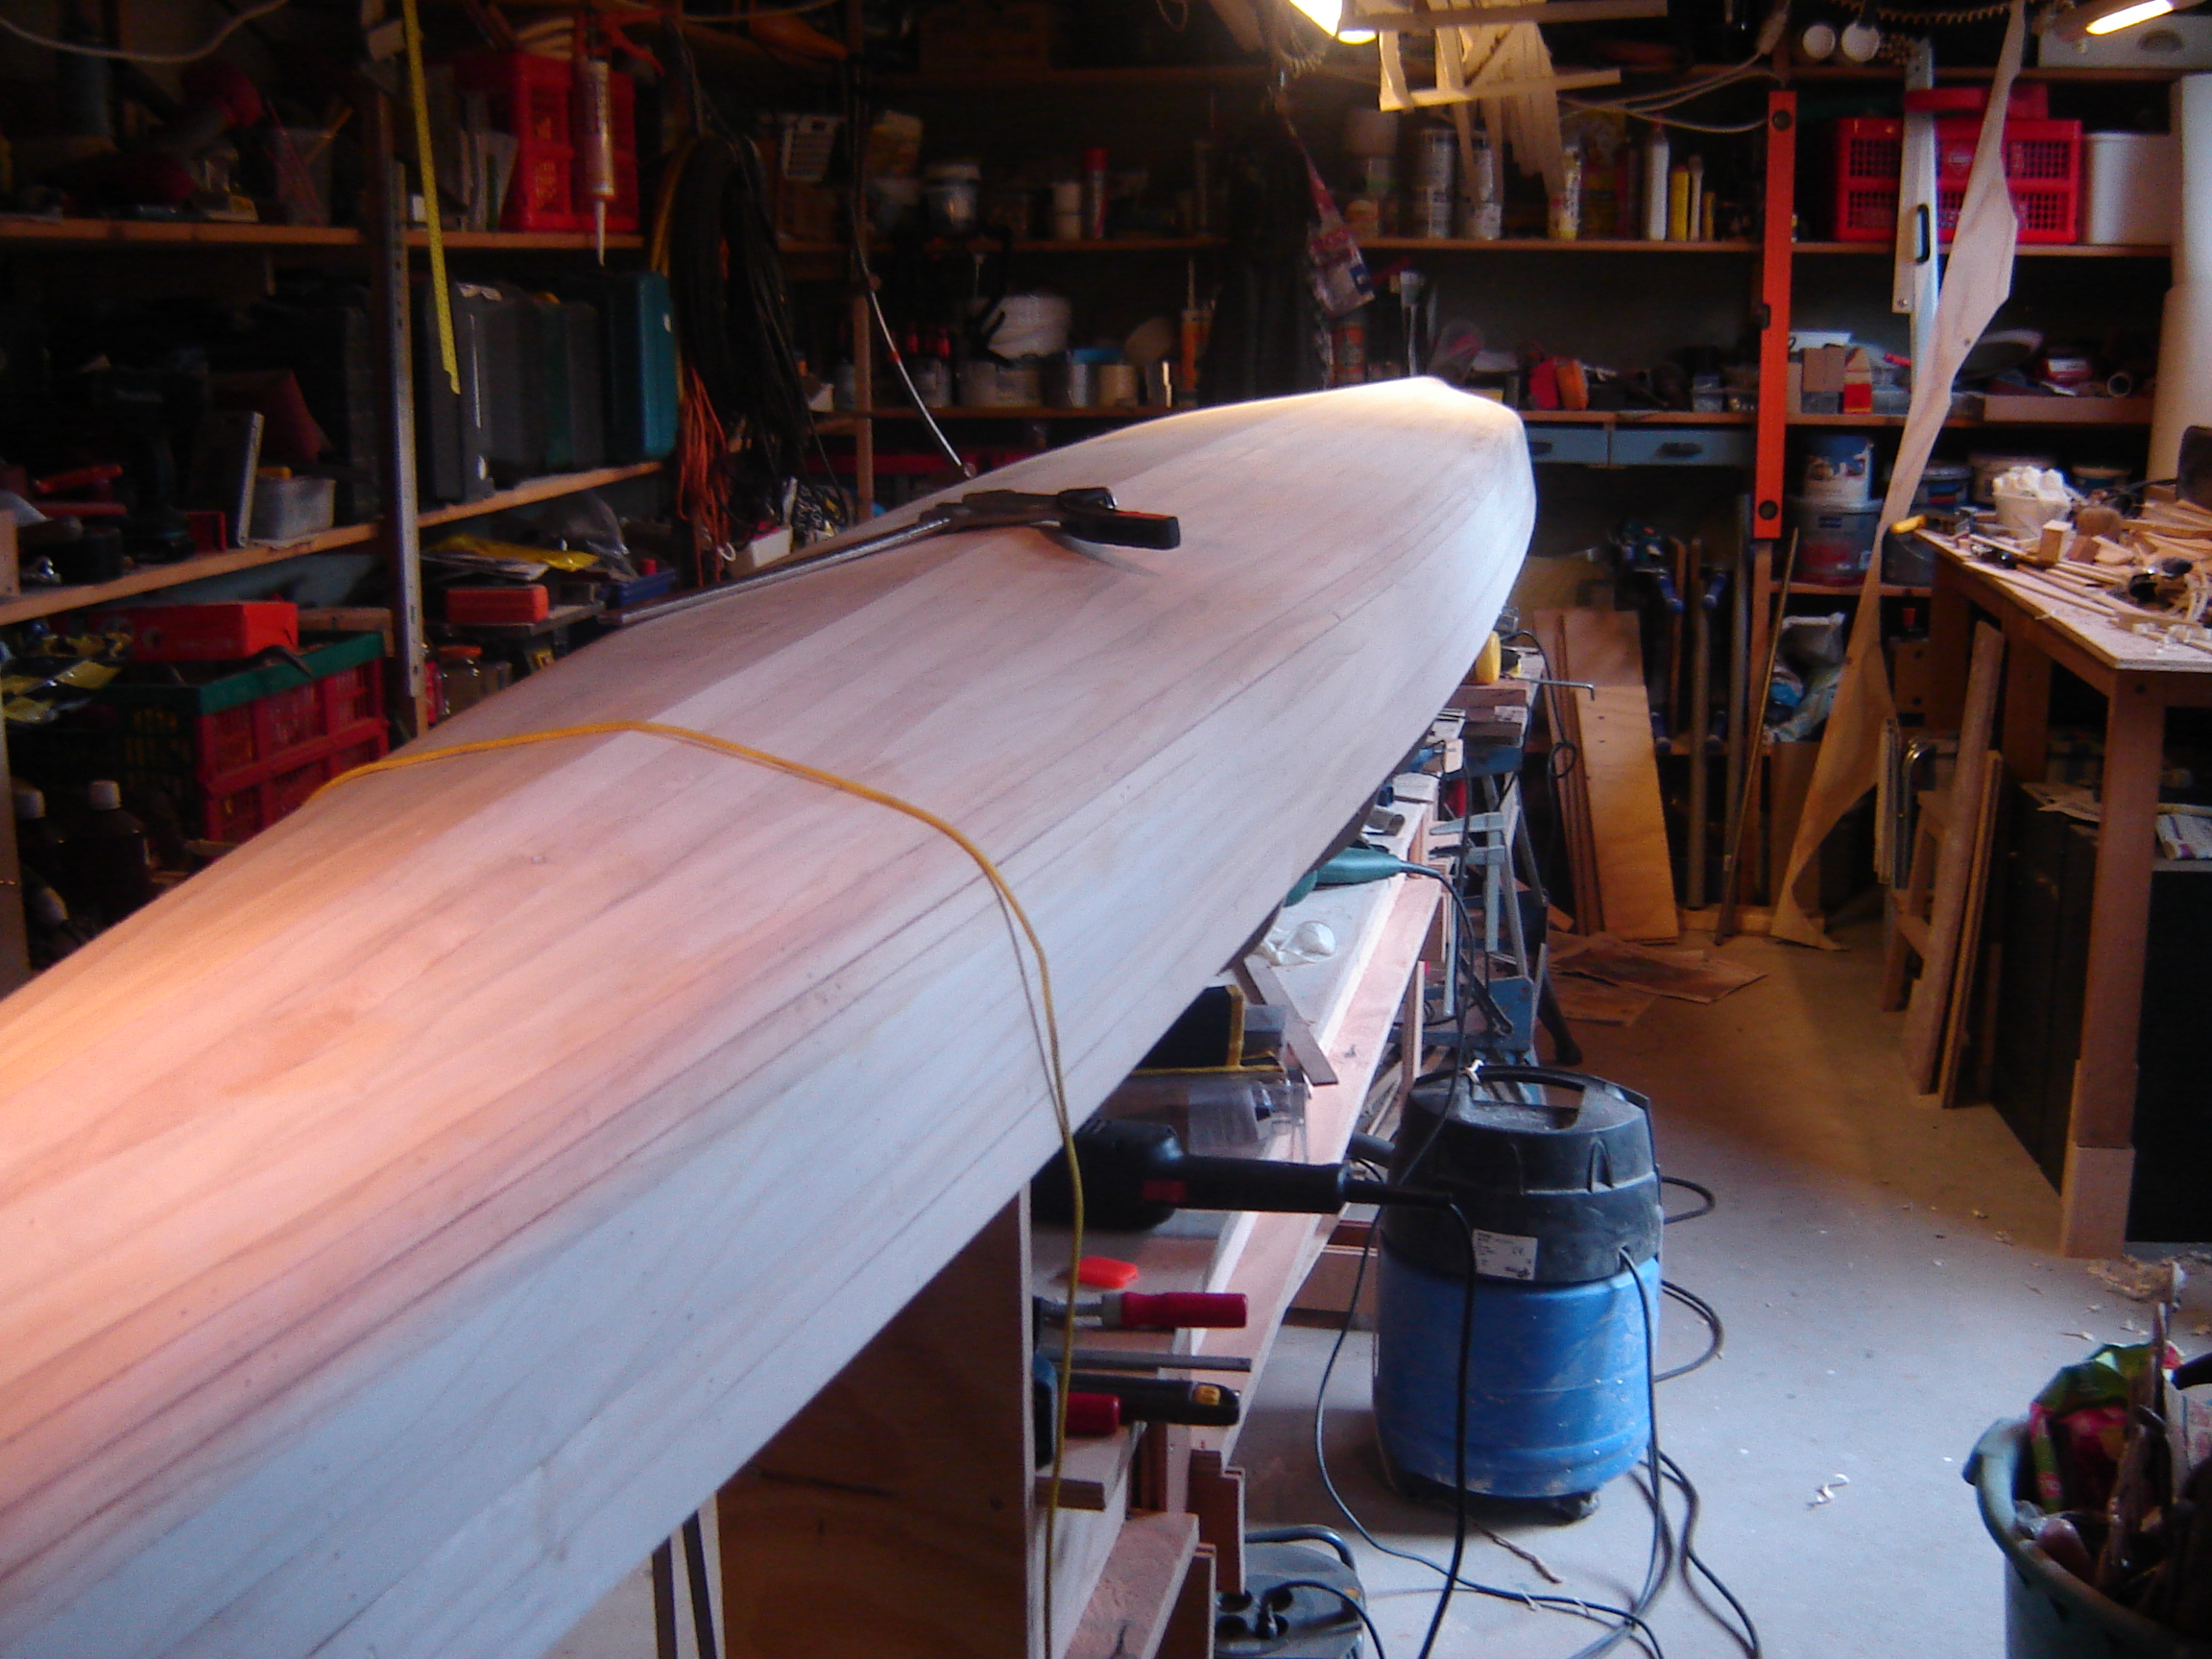
Seven years ago I ordered the plans for the Expedition Single and the Night Heron. I wanted to build the Expedition Single first but I could not get Western Red Cedar cheap enough so I will build it from Poplar. Normaly that wood is not used for boat building, but it is lighter then fir and I could lay my hands on a few boards very cheap.
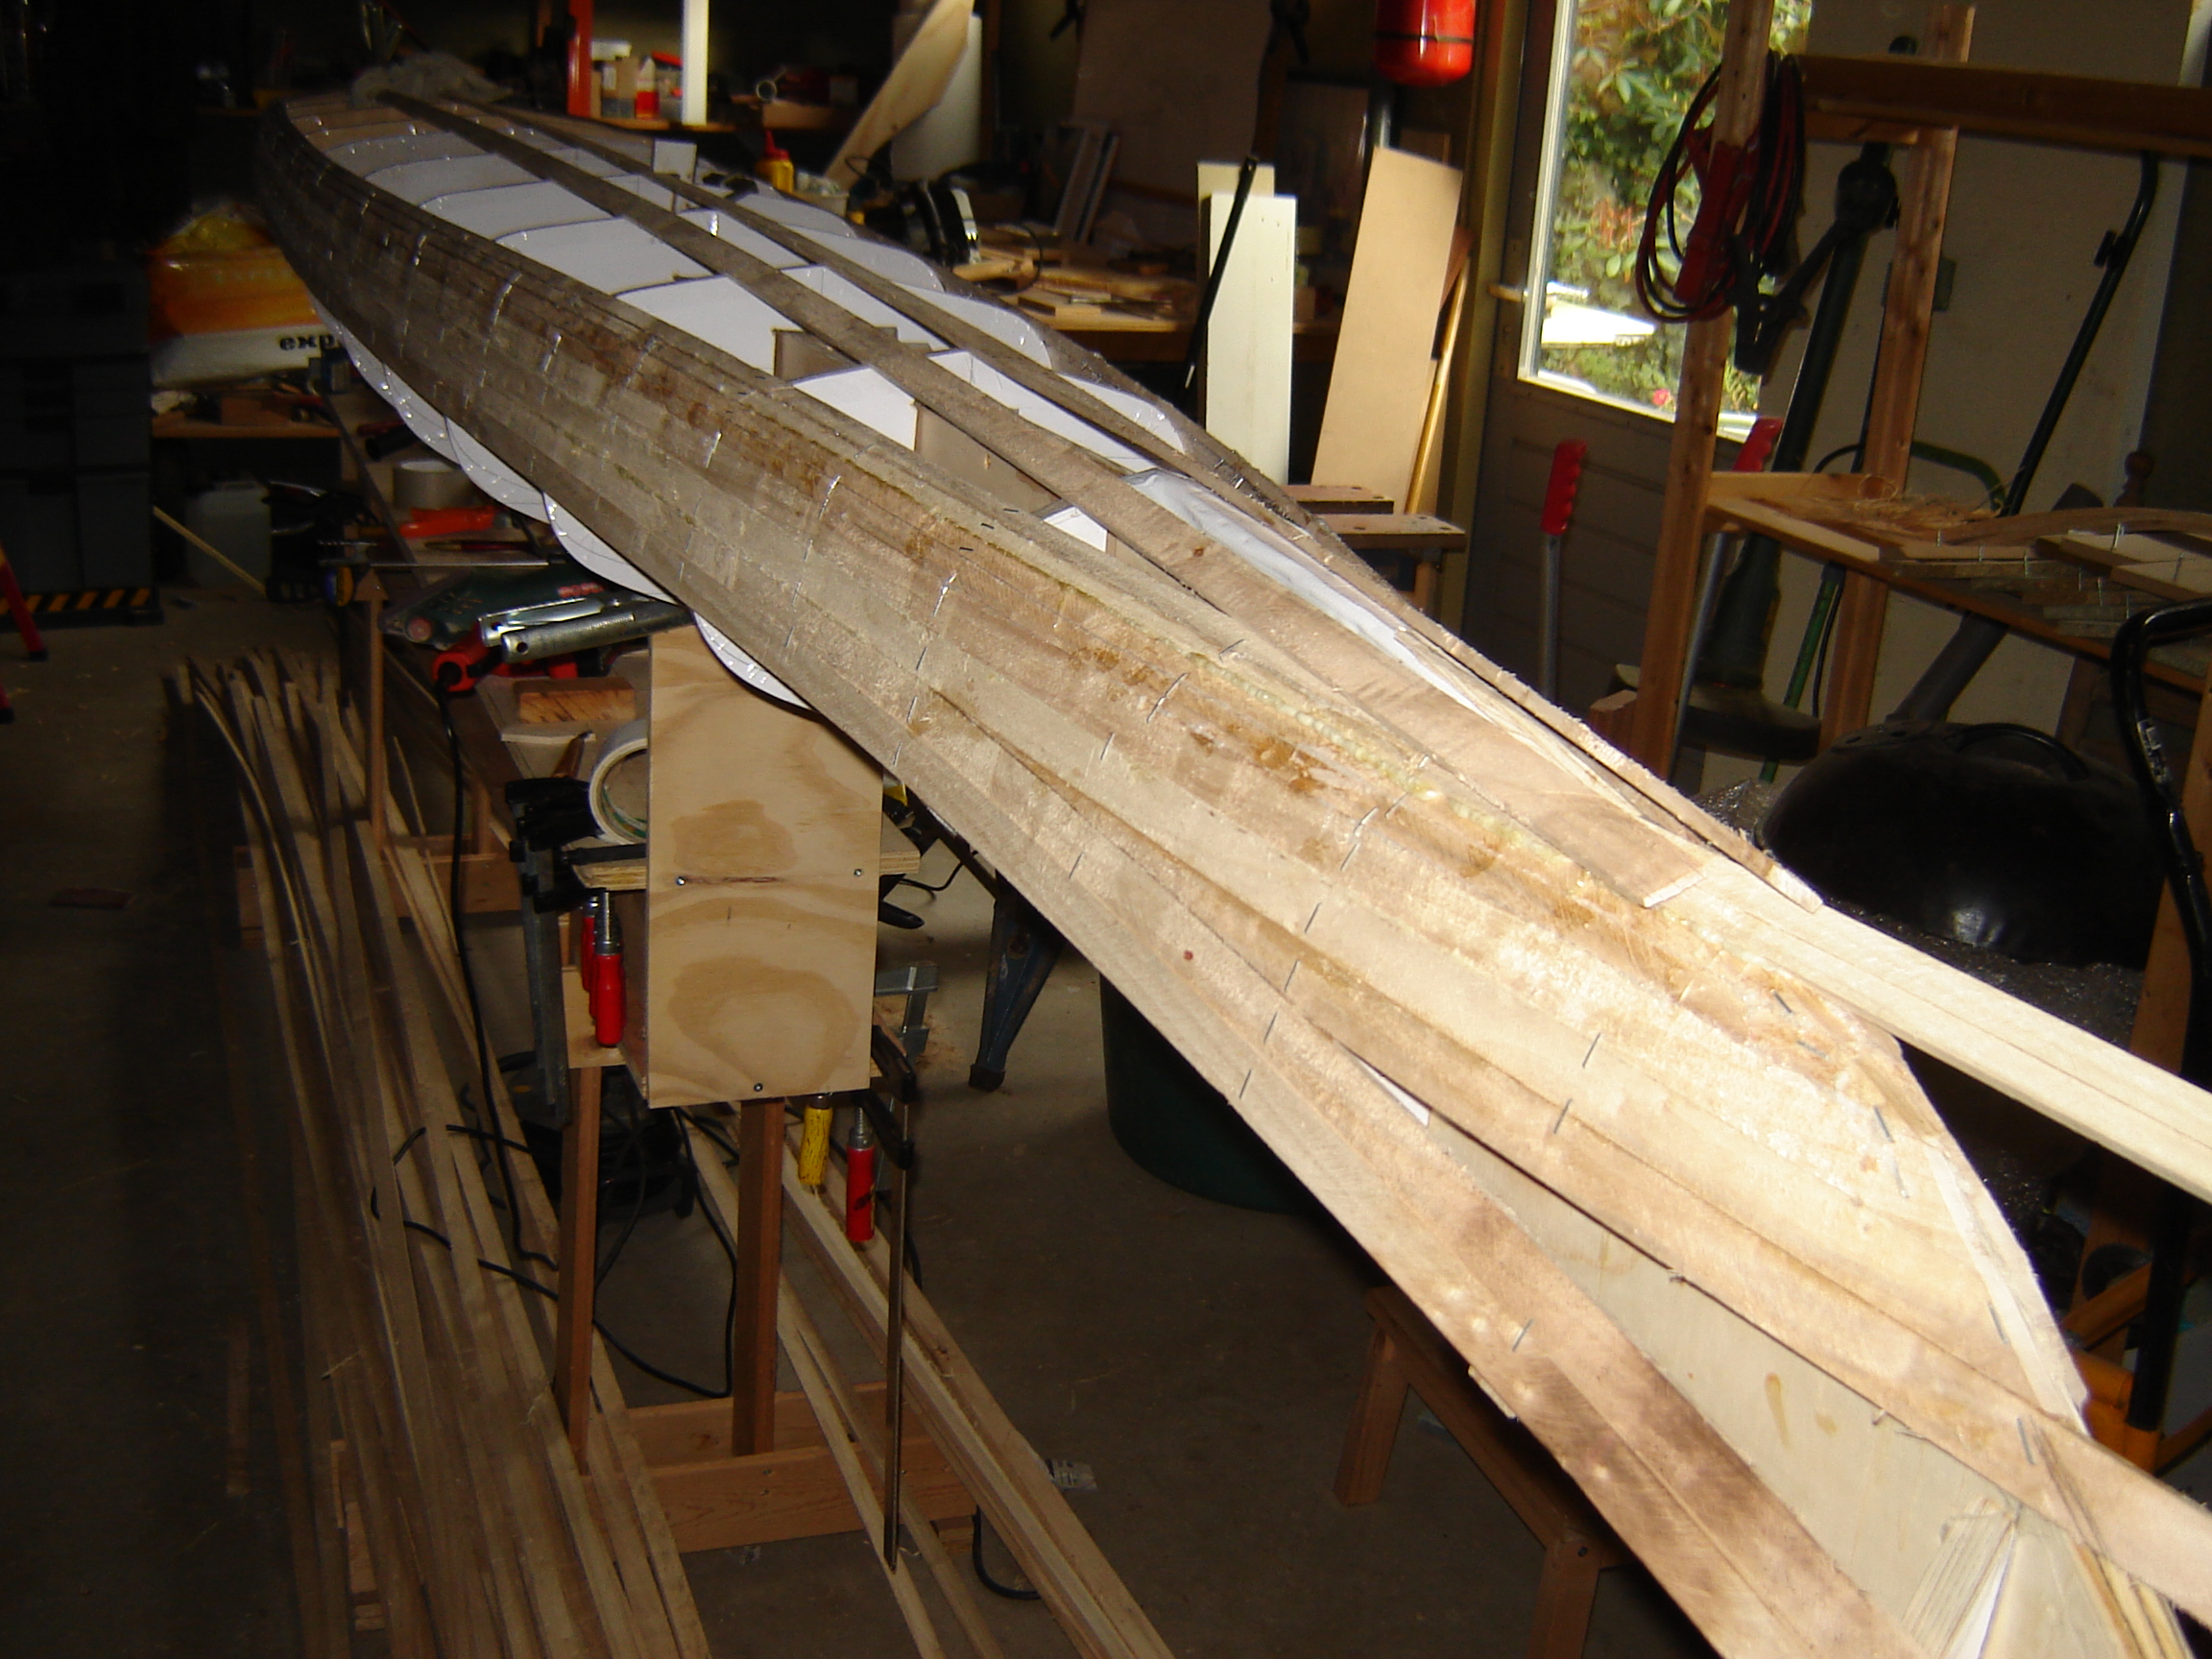
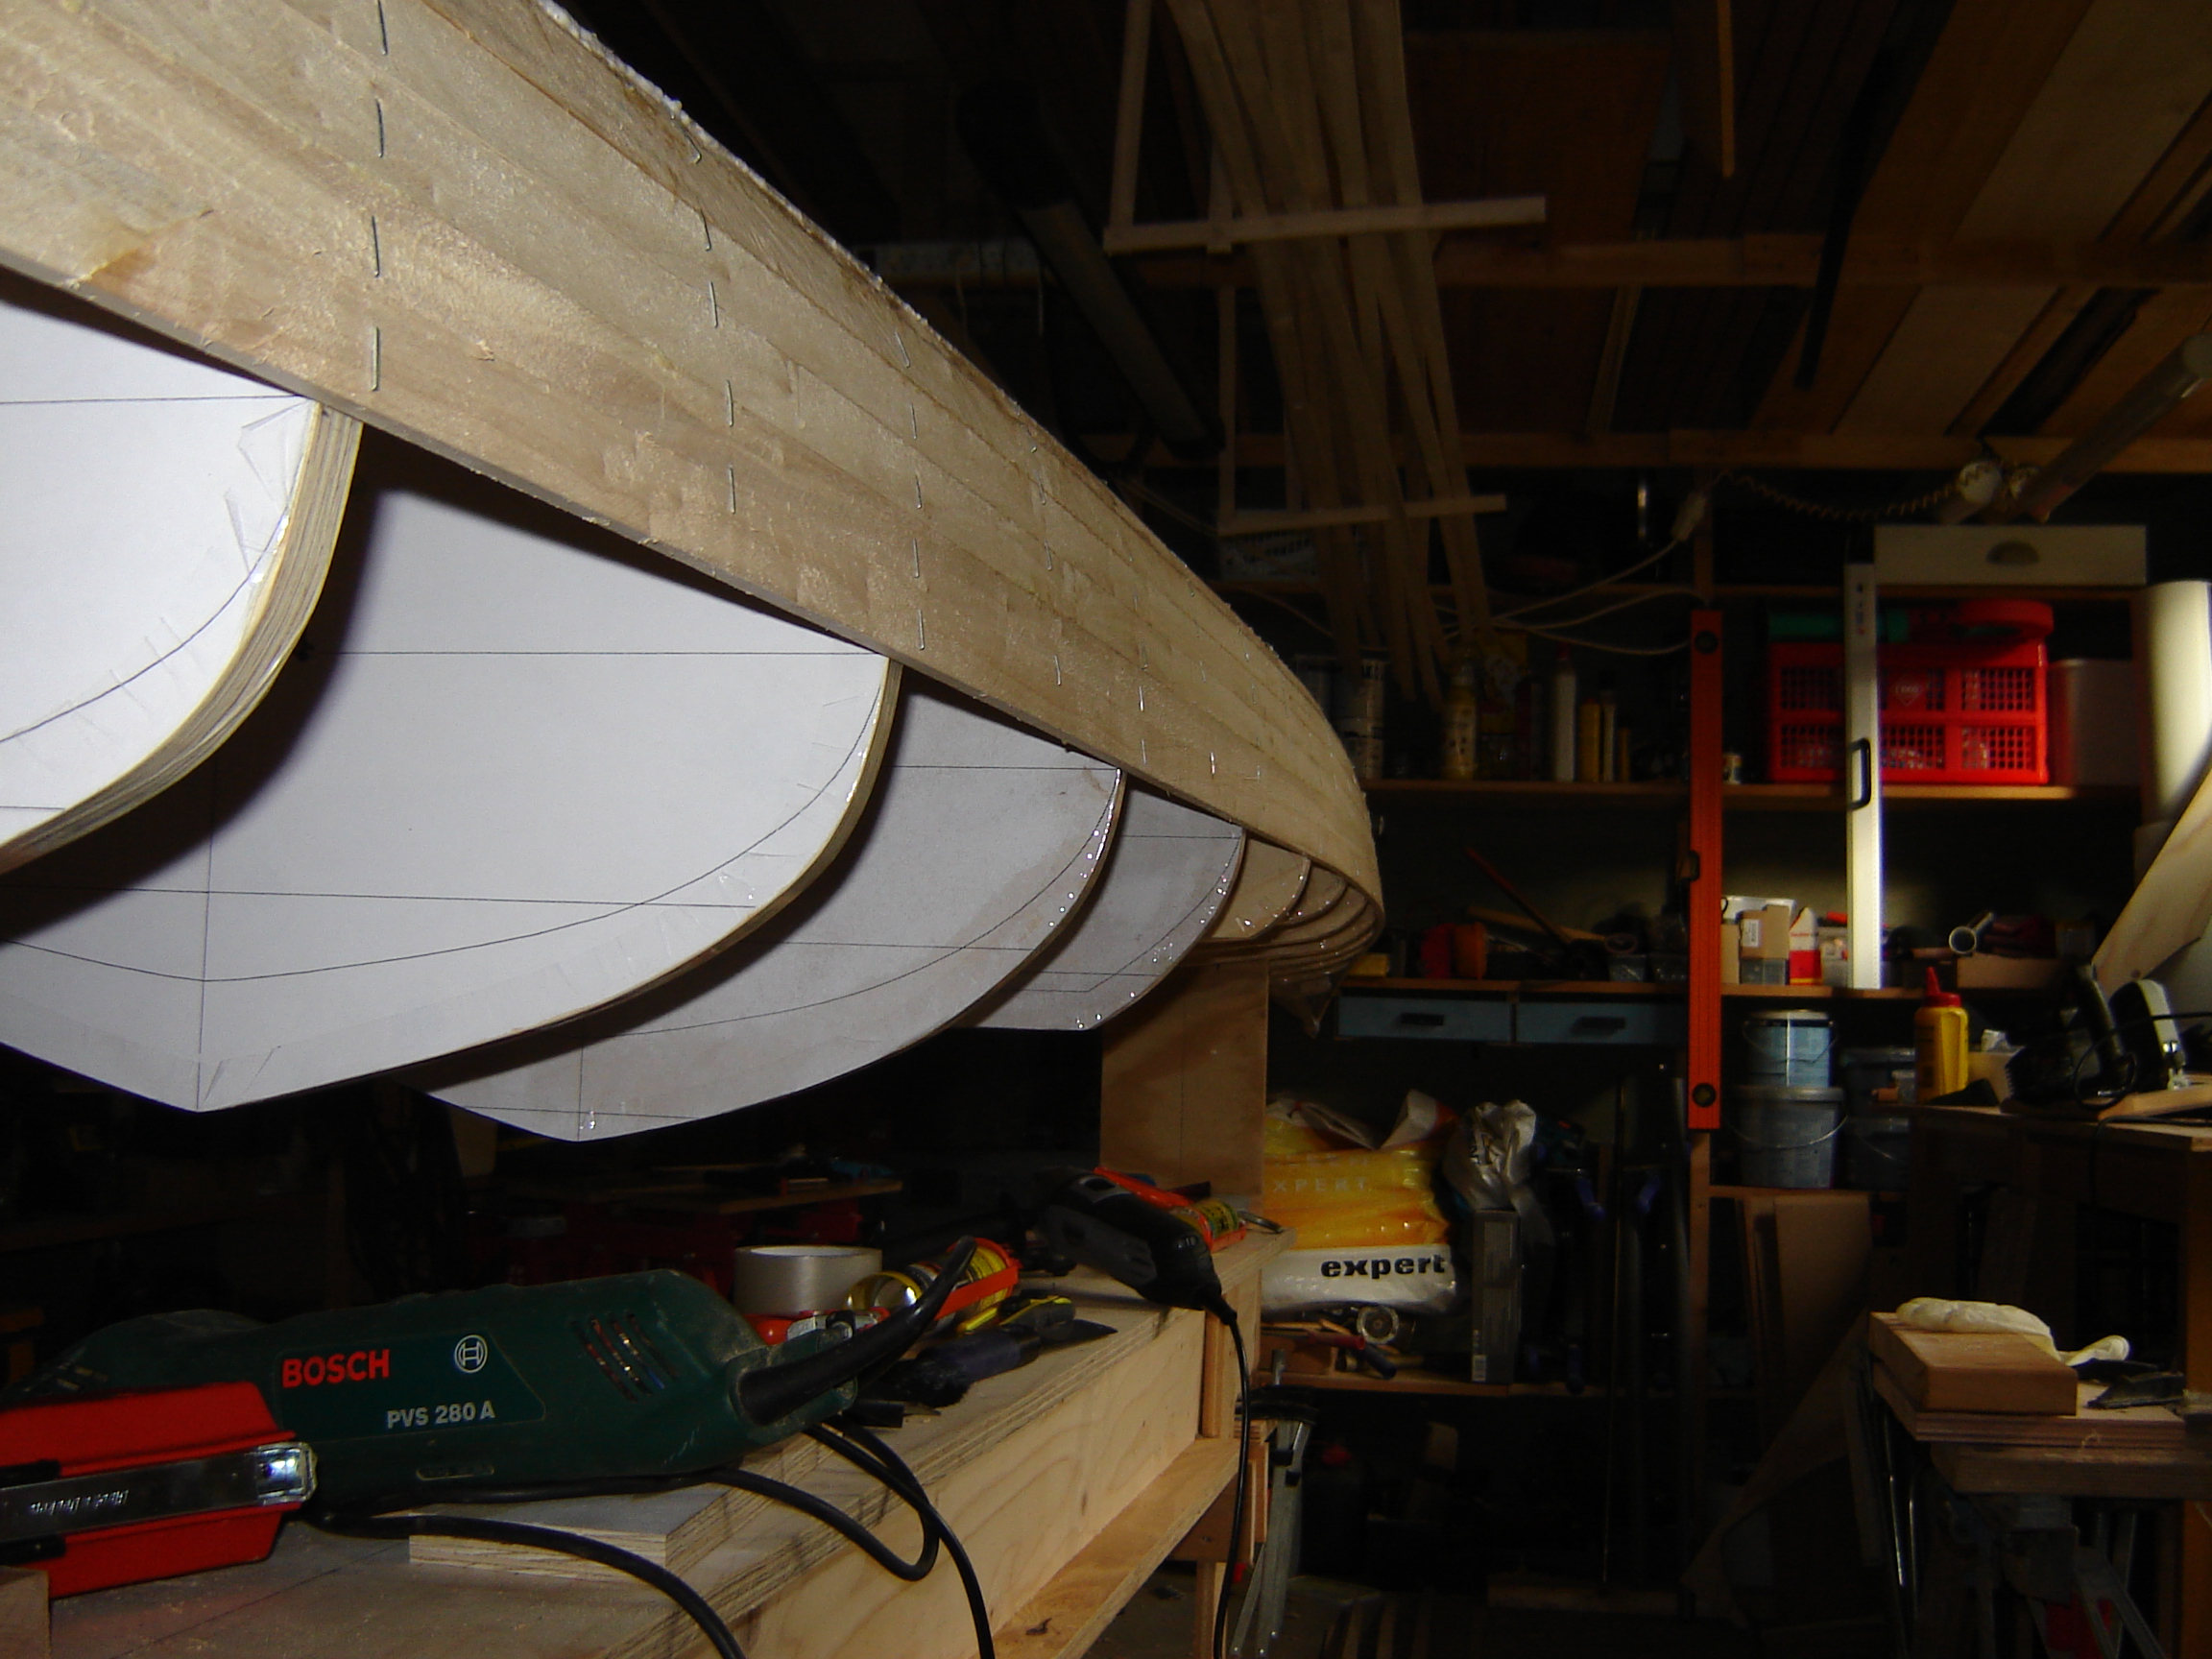
The Expedition Single is more difficult te build because of the hollows at the bows so I start with the Night Heron.